Scope
This page covers how to make a USB-bootable memory/flash stick from the Deployment Media (Linux) ISO created by Dell Repository Manager. You can then use this USB stick to quickly add new System Bundles for offline patching in the future, rather than needing to burn DVDs each time.
There are two steps to this process:
- Create the bootable USB stick (This page)
- Maintaining the USB stick with the latest Dell Firmware and BIOS updates
Why would you want this?
Having a USB-bootable version of the offline Dell firmware updater is incredibly useful. Here’s why I made it:
- I don’t need to burn DVDs anymore.
- If I need to put the latest Firmware or BIOS updates on to a Dell server, I simply drag and drop the exported system bundle from Dell Repository Manager onto the USB stick and plug it into the target server.
- USB is universally available on most Dell Servers.
- Many of our old systems have CD-ROMs rather than DVD-ROMs, so burning a 2.6GB DVD is a no-go.
- Many of our newer systems have no Disc-based device at all, so USB is the only option.
Background
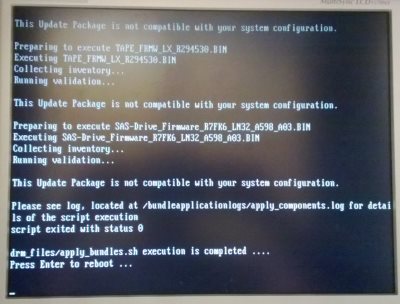
The Dell Deployment Media (Linux) ISO is a bit of a blunt tool, but it gets the job done in a situation where you cannot install Dell SUU updates from an existing OS. An example is installing Dell firmware and BIOS updates onto a server running VMware ESXi. The Deployment Media boot disc/USB stick will run and try to install everything in the SUU bundle repository. It doesn’t inventory the system for installed devices and then only install relevant/applicable BIN files. This means that often you’ll see error messages that the package isn’t applicable or compatible, due to the specific device targeted by the BIN file not being present in the system. This is nothing to worry about.
Prerequisites
- You’ll need to have used Dell Repository Manager to create a Deployment Media ISO from repository system bundles.
- As at 2014-05-15, some DTK versions (710 – 730) of the Dell DTK break USB boot functionality (see comments). To work around this, you’ll need to do the following:
<li value="1">
Use the latest DTK_740.cab, which Dell have confirmed now works (see comments). You can get that by simply using DRM, no need to download directly, but I’ve linked to it anyway.
</li>
<li value="1">
Alternatively, download either of the older DTK 651.cab or DTK_700.cab (both confirmed in the comments as working)
</li>
<li value="1">
Put the .cab file in: %USERPROFILE%\AppData\Local\RepositoryManager\Payloads
</li> <li value="1"> Delete any other DTK*.cab files in that directory (as newer ones will be used automatically by Dell Repository Manager) </li> - Alternatively, you can download a generic ISO I prepared from here: Download Generic LinuxIso.iso (226MB). It contains updates for PESC1435, but that can be deleted once on USB.
- You’ll need a USB stick with sufficient capacity. For example, if your Deployment Media ISO is 2.8GB (as some are), you’ll need a 4GB USB stick.
Steps
Obtain Unetbootin
- Insert the USB stick. Be aware that it’ll be wiped!
- Run the Unetbootin exe you just downloaded
Prepare the USB stick
From the Unetbootin interface:
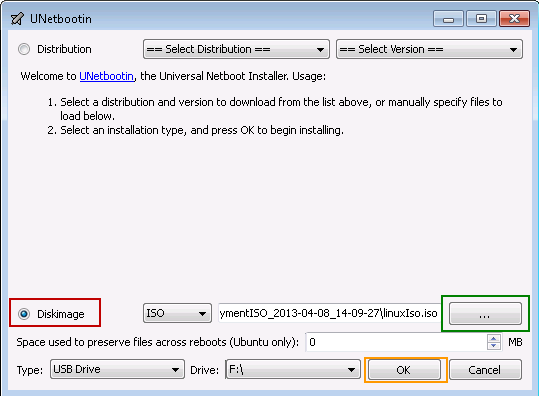
- Click on … and locate the linuxISO.iso file (or whatever your Deployment Media ISO is called)
- Choose your target USB stick. In this example, it’s F:\
- Hit OK.
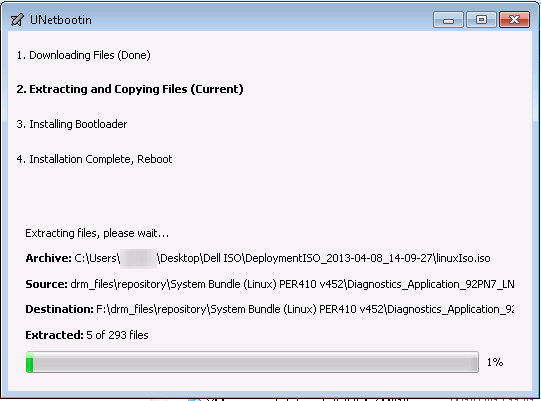
Unetbootin will then prepare the USB stick:
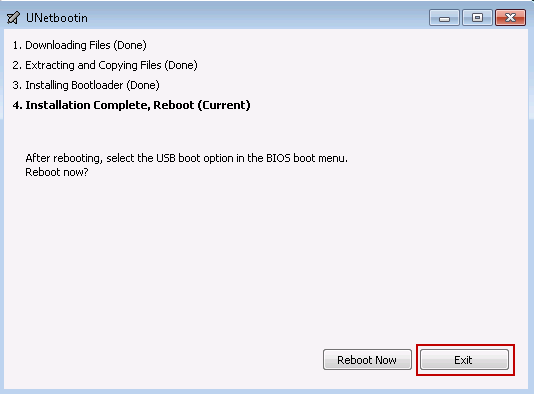
Once complete, choose Exit. Do not reboot:
Running the firmware/BIOS updates
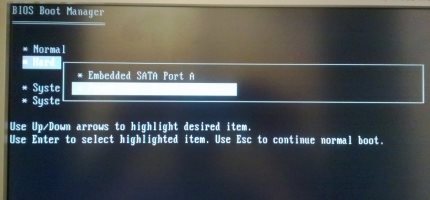
- Power on your Dell server and press F11 to bring up the BIOS Boot Manager menu.
- Choose Hard Disk, and when the popup menu appears, choose the option relevant to your Flash/Memory/USB stick

- That’s it – you’re done! It can take a while to reboot, as BIOS upgrades occur after you’ve rebooted.
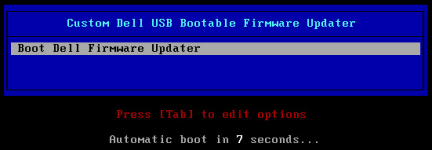
Extra credit – Auto-booting the correct boot option
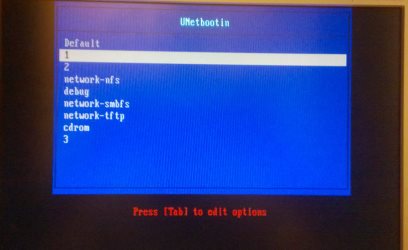
If you wish to make the USB stick boot by default to the “1” option:
Or, for super extra credit, simply replace the syslinux.cfg file with the one in this zip file:
zip containing the syslinux.cfg file
File contents:
# modified by Phil Wiffen
# http://about.me/philwiffendefault menu.c32
prompt 0
menu title Custom Dell USB Bootable Firmware Updater
timeout 100label bootdfu
menu DEFAULT
menu label Boot Dell Firmware Updater
kernel /isolinux/SA.1
append initrd=/isolinux/SA.2 ramdisk_size=229441 root=/dev/ram0 rw DEBUG=0 share_type=cdrom quiet loglevel=1 BUILD=668 vmalloc=256M init=/init mem=15G selinux=0 share_script=drm_files/apply_bundles.sh
Next steps
Now you have a working USB-bootable offline firmware updater for Dell, you may want to check out my guide on how to keep it up to date with new Firmware/System Bundles: Maintaining a bootable USB stick with the latest Dell Firmware and BIOS updates