Scope
This post will provide some quick notes on installing the Citrix Cloud Connector on Server Core 2016.
Conceptual overview
- We’re going to take our domain-joined Server Core installation and install the Citrix Cloud Connector on to it.
- You can’t simply run the installer from the Server Core UI, because Server Core doesn’t have all the bits required for the Connector wizard to work.
- So to work around this we’ll get an API Access key from Citrix Cloud admin UI and use that to install the connector silently on the command line.
Pre-requisites and considerations
- It’s assumed you have installed Server Core 2016 and joined it to the domain.
- I believe you’ll need an API access secure client entry for each controller you’re setting up. Happy to be corrected on this, but it feels like that’s the best way to go about this.
- The API access key is tied to the Citrix Administrator. If that Adminstrator account is later revoked access or permissions changed, the API keys will stop working. More on this here.
- As of right now (September 2018) installing the Cloud Connector on Server Core is not supported – however, the team is aware of appetite for this, and have a workstream open to do some testing with all the components.
Steps
Create an API Access secure client entry for the connector
Go to https://citrix.cloud.com > Identity and Access Management > API Access tab

Enter a descriptive name of your Server Core VM in the “Name your Secure Client box” and click Create Client – I typically use the VM hostname so it’s easy to track which controllers are using which credentials. If you want to add more contextual info, do so. The field isn’t tied or reliant on the VM name at all.
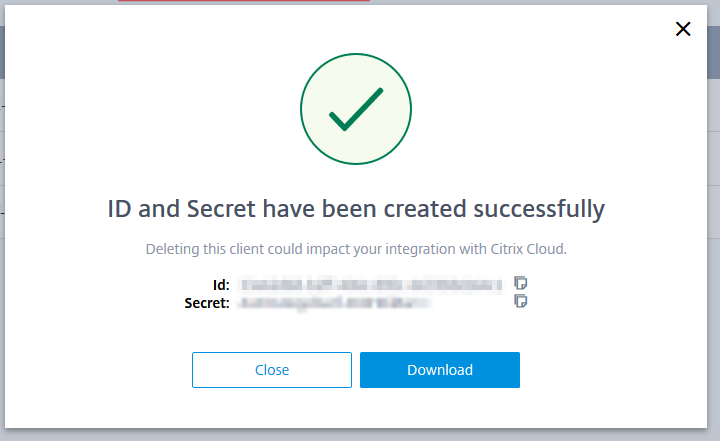
Store the ID and the Secret given to you in a secure place. You’ll never be given the Secret again, so I’d recommend storing it securely.
Gather required information
To install the connector from the command line you’ll need the following information:
- Citrix Cloud Customer ID
- You’re told this just before you make the API access credentials, when entering a secure client name.
- API Access secure client ID
- You’re told this when you make the API access credentials
- API Access secure client Secret
- You’re told this when you make the API access credentials
- The ID of the Resource Location you’re installing the connector into.
- This is the UUID of the Resource Location, not its friendly name. You’ll find it in the Resource Locations – click on “ID” to view it.
Download the Connector onto the Server Core VM
Log in to the Server Core VM and run the following, replacing “yourcustomeridhere” with your Customer ID
powershell
cd c:\windows\temp\
Invoke-WebRequest -Uri https://downloads.cloud.com/yourcustomeridhere/connector/cwcconnector.exe -OutFile cwcconnector.exe -UseBasicParsing
Install the connector silently
Now, from the same command line, build your silent install command, replacing yourcustomeridhere, yourclientid, yourclientsecret, and yourresourcelocationid with the information you gathered earlier, and run it:
.\cwcconnector.exe /quiet /Customer:yourcustomeridhere /ClientId:yourclientid /ClientSecret:yourclientsecret /ResourceLocationId:yourresourcelocationid /AcceptTermsOfService:true
That’s it. You won’t get confirmation that it worked, so you’ll need to check via Citrix Cloud
Check your Resource Location to verify connectivity
Go back to the Citrix Cloud UI and check your Resource Locations to verify if the connector is being setup. It can take a few minutes to complete.
Uninstalling the Cloud Connector
Should you need to Uninstall the Cloud Connector from Server Core, you can run:
.\cwcconnector.exe /uninstall
It looks like this isn’t documented (not mentioned if you use /?) but it does work.
Further reading
- Details on API Access clients
- If you desire a more robust and automated way to do this, check out this blog post
- Cloud Connector installation documentation